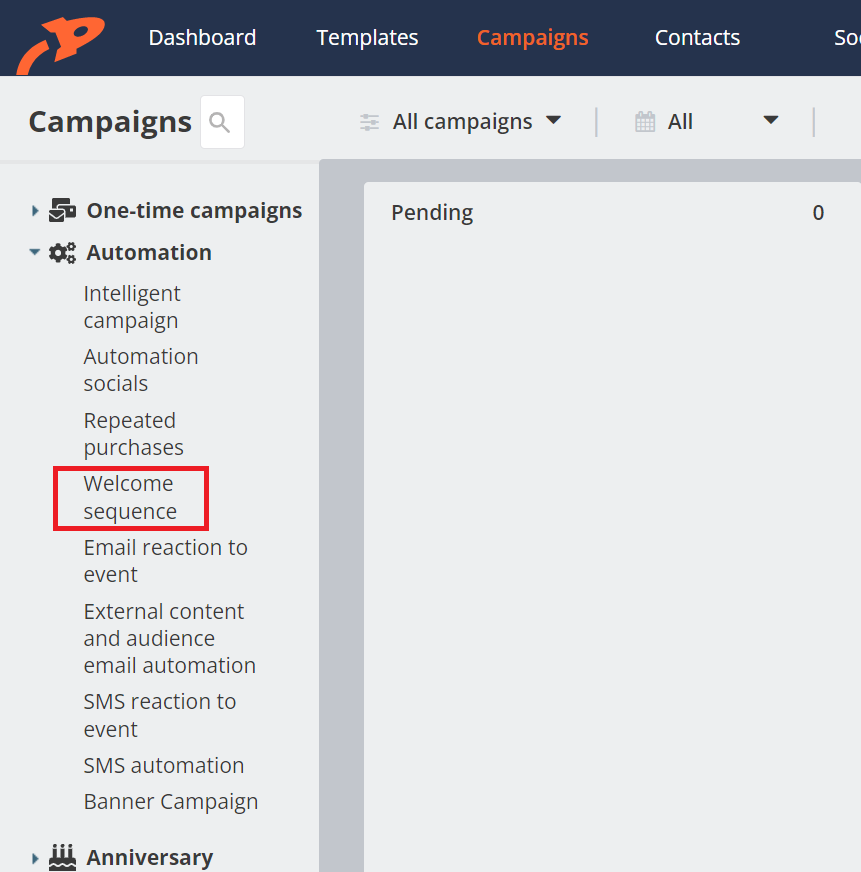
Welcome sequence
Are you a family business, selling unique products with a story or just want to welcome customers to your e-shop? There's nothing easier than setting up a welcome email sequence after registering to your e-shop.
Setting the welcome sequence
In the Campaigns tab, click on Welcome Sequences to launch the setup wizard.

Campaign name and time
In the first step, you set the name of the campaign and how long after the customer registration it should be sent. There can be multiple of these campaigns, named differently and sent after different amounts of time. If you want to welcome the customer to the store and confirm that the registration was successful, leave the default settings and the email will be sent immediately after registration. You can set up another campaign maybe a day after registration and introduce your e-shop in it.
Template
Select a template. If you don't select one, you can build it from scratch. But in most cases, it's easier to start with an existing template and just edit it. Click Next and you'll be in the editor where you can edit the template just like any other email. There are placeholders present in the text that will be replaced in the result with specific product names and images, etc. Of course, you can edit or reposition them as needed.
If you are satisfied, click Safe and exit at the bottom and the campaign is active. Feel free to schedule the campaign, you can always come back to it and tweak it later.

Notice
Most e-commerce platforms allow you to send customers a welcome email after signing up as well. If you set up a welcome sequence in Incomaker, be sure to disable the welcome email in your e-shop so that the customer doesn't receive the welcome twice.
So why set up this campaign in Incomaker?
There are several reasons, but the main one is that Incomaker allows you to customize the template just like any other email you send to your customers. Plus, even from the welcome campaign, you can report information valuable to your marketing.